Focused 3D editing

Build cleaner edits with tripo segmentation

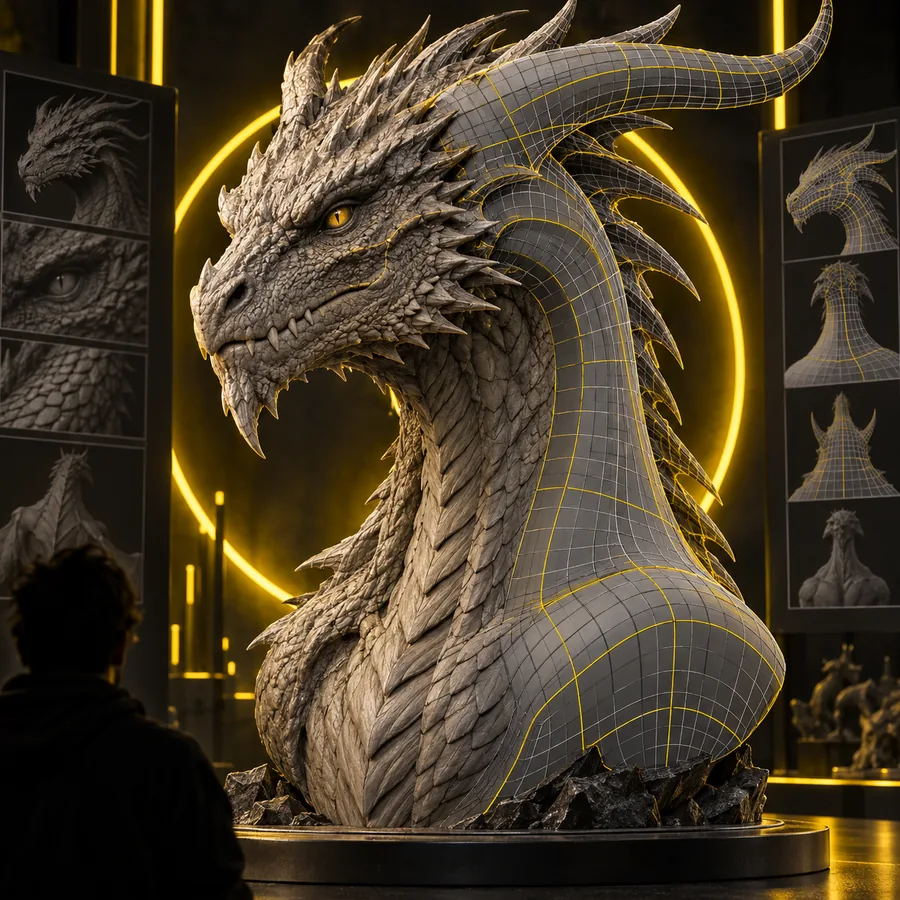
Tripo segmentation helps separate a generated 3D object into meaningful parts so you can inspect, refine, and prepare the asset with less manual cleanup.

Free to start · no signup
Generated 3D models arranged in a creative workspace

Choose the right route

This entry point vs the general one

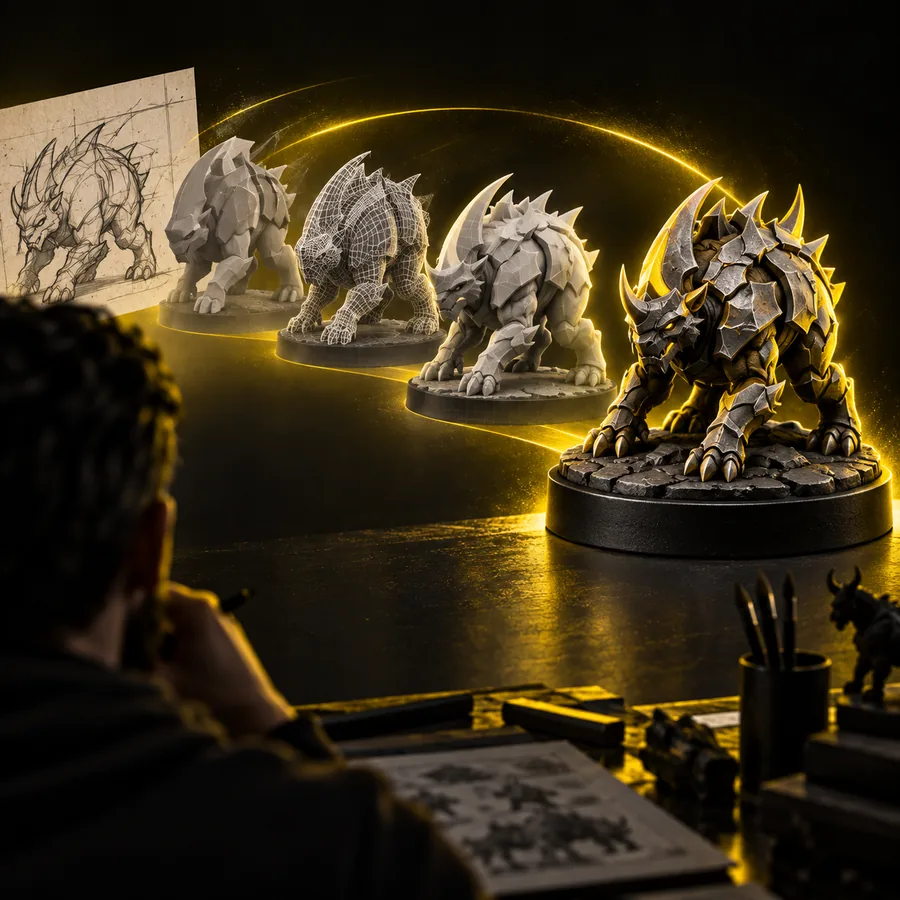
The general workflow creates a complete asset. This focused route begins with an existing object and organizes its visible parts for more controlled editing.

Complete generated 3D character model General creation

Step 1

Start with a complete object

Use the general generation route when you need a model from a text description or reference image. It is best for creating the overall shape, style, and proportions from scratch.

  • Create the whole object
  • Set the visual direction early
  • Best for first-pass concepts
3D model divided into editable parts Focused editing

Step 2

Start with editable regions

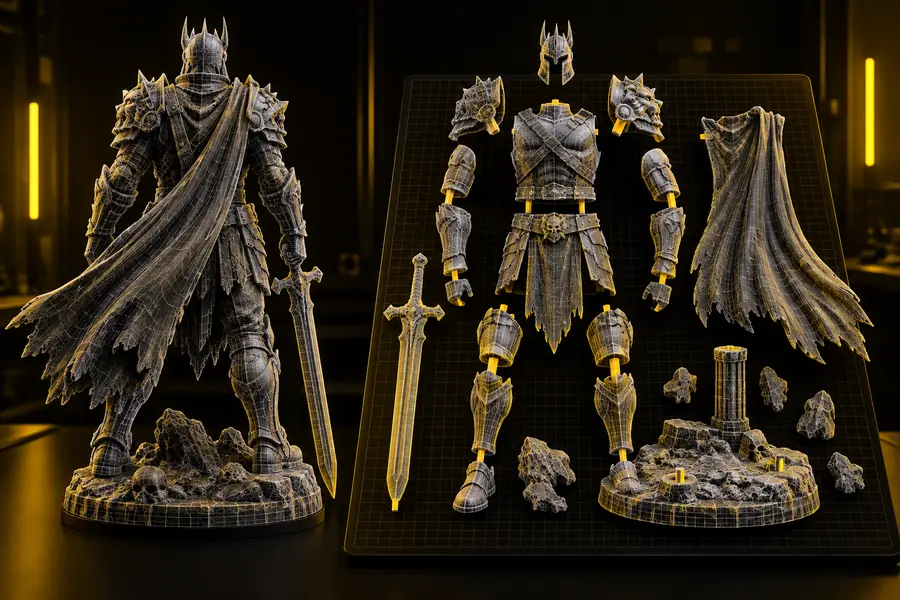
Use segmentation when the object already exists and your next task is isolation. The result is easier to inspect because major regions can be handled separately instead of as one dense mesh.

  • Separate meaningful regions
  • Inspect parts independently
  • Prepare focused revisions

Practical outcomes

The 3 things only it does

This focused capability is useful when a single mesh is slowing down the next stage of your work.

Game artists

A character arrives as one model, but armor, limbs, and props need separate attention before export.

You get a clearer starting point for material changes, rig preparation, and selective replacement. Try segmentation in Tripo.

try segmentation in Tripo

Product designers

A concept object contains a body, handles, panels, and small attachments that should be reviewed individually.

You can isolate the components that matter for a design review without rebuilding the entire asset. Open the focused workflow.

open the focused workflow

3D printing hobbyists

A decorative model needs its major pieces inspected before slicing, scaling, or preparing a multi-part print.

Separated regions make it easier to spot parts that deserve a separate repair or print decision. Test a model split.

test a model split

Visual difference

See the split before and after

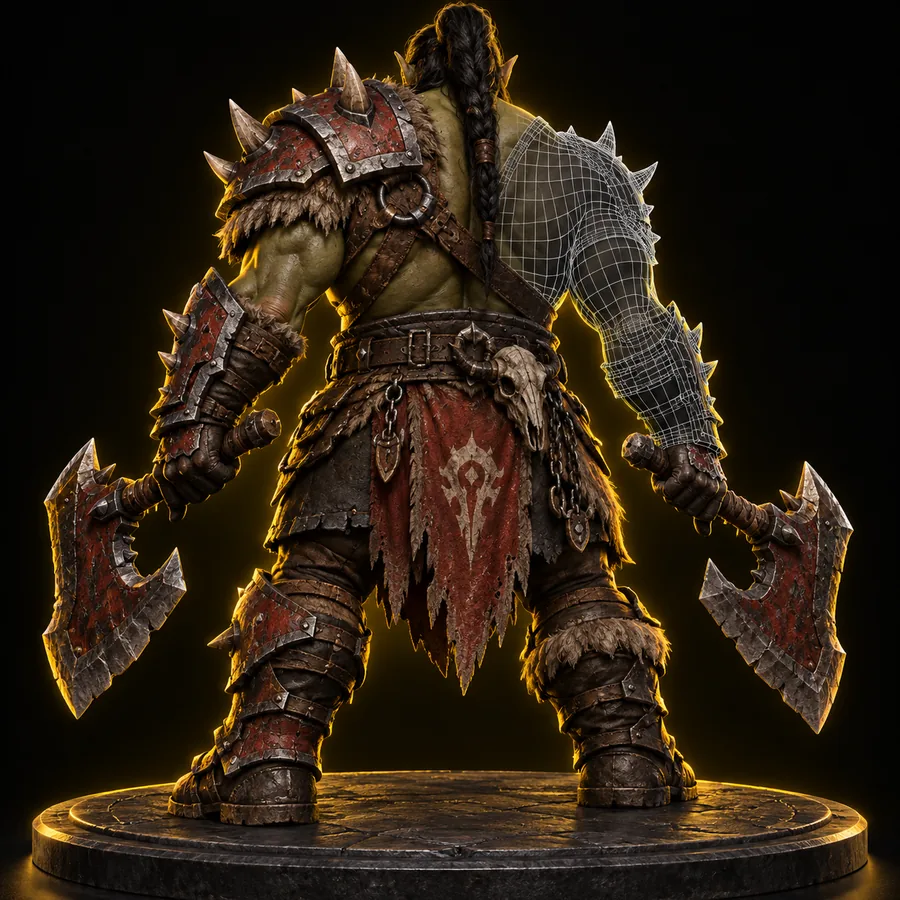
A single mesh can hide the structure you need to work on. The separated result makes the intended regions easier to identify and revise.

Complete 3D object before part separation
One combined model
Robot model separated into editable parts
Separated parts

Use the combined view for creation; use the separated view when the next task depends on individual regions.

One combined modelSeparated parts

Simple workflow

How to start

Keep the request specific, name the parts you care about, and review the result before moving it into a larger production workflow.

  1. 1

    Provide the model or describe the object

    Begin with a clear object and identify the major regions that should become separate parts. Use familiar names such as body, lid, wheel, arm, or accessory.

  2. 2

    State the desired separation

    Tell the tool whether you want all visible parts separated or only a selected group. Specific wording reduces ambiguity around small details and attached components.

  3. 3

    Inspect and continue editing

    Review the output from several angles, then continue with cleanup, materials, rigging, export, or another generation pass as needed.

Know the boundaries

Limits

Segmentation organizes a model, but it does not replace mesh inspection or production cleanup in every project.

1

Tiny details may stay connected

Very small handles, straps, fasteners, or thin ornaments can be difficult to distinguish from the surrounding mesh.

What to do instead

Name the important small part explicitly and check it at a closer scale after processing.

2

A visual part is not always a clean mesh

A separated region may still need topology repair, boundary cleanup, or thickness checks before animation or fabrication.

What to do instead

Use a 3D editor or printer-preparation tool for final technical validation.

3

Ambiguous objects can produce uneven splits

Overlapping shapes, hidden surfaces, and similar materials can make it unclear where one region should end and another should begin.

What to do instead

Use a simpler source view and describe the intended boundaries in plain language.

4

It does not decide your production structure

The result does not automatically establish the naming, hierarchy, pivot placement, or export conventions your pipeline requires.

What to do instead

Apply your studio, classroom, or print workflow conventions during the final organization pass.

Prompt starting points

Segmentation prompt examples

These examples show how to describe the intended split before you adapt the wording to your own asset.

  1. 1 prompt, verbatim
    Separate this anime character into head, hair, torso, arms, legs, shoes, and accessories as individually editable parts.
    Character separation Character · multiple regions
    Anime-style 3D character prepared as separate parts Character result
  2. 2 prompt, verbatim
    Split this mechanical object into body shell, panels, wheels, handles, and detachable accessories while keeping each major part intact.
    Object separation Hard-surface · component split
    Detailed object arranged for part-based editing Object result
  3. 3 prompt, verbatim
    Separate this robot into head, chest, arms, hands, legs, feet, and attached equipment with clean, named regions.
    Robot separation Robot · articulated regions
    Robot model divided into clear editable regions Robot result

Keep the object name and desired part list explicit, then remove any region you do not need.

When a complete model is difficult to revise, a focused split can make the next decision easier. Send a specific object and part list to Tripo, then inspect the result before your next edit.

Turn one mesh into a clearer starting point

  • Name the parts you want separated
  • Review the result before export
  • Continue with your preferred 3D workflow
Segment a 3D model

Common questions

Tripo segmentation FAQ

Tripo segmentation is a focused workflow for separating a 3D model into recognizable, editable regions. It is useful when you already have an object and need more control over its parts rather than generating a completely new asset.

It can help organize visible regions such as a character's limbs, a robot's equipment, or a product's panels and attachments. The clearest results usually come from naming the major parts you want handled separately.

No. Creation produces the overall asset, while segmentation reorganizes an existing object into parts that are easier to inspect or revise. You may use both workflows at different stages of the same project.

Yes, segmented output can serve as a starting point for editing, materials, rigging, animation, or print preparation. Always inspect boundaries, topology, naming, and pivots before treating the result as production-ready.

Start creating
Start creating