Beginner starting point
A practical tripo tutorial for beginners
This tripo tutorial for beginners takes you from a clear idea to a usable 3D model without assuming prior experience. Start with a short prompt or one well-framed image, inspect the result, then improve one issue at a time.

Elimination order table
Use this quick order when the result is not right. Check the simplest cause first instead of changing every setting at once.
- OrderThree checks solve most first attempts: clarify the subject, improve the input image, and refine only one visible problem.
- InputOne clear object usually gives a more useful starting model than a crowded scene with several overlapping subjects.
- MethodImage and text workflows need different instructions, so beginners should practice them separately before combining methods.
- IterationA second generation is most useful when you can name the exact defect you want to correct.
Each fix's steps
Follow these three passes in order. Each pass removes one common source of uncertainty while keeping the workflow easy to repeat.
-
1
Define one subject
Choose a single object and describe its shape, material, pose, and important features. Avoid packing several unrelated ideas into the first prompt.
-
2
Generate and inspect
Create the first model, then rotate it from several angles. Check silhouette, missing parts, awkward joins, and whether the main feature is recognizable.
-
3
Refine one defect
Change one instruction or input at a time, regenerate, and compare the new result with the previous version. Keep the better pass rather than assuming the newest is best.
Requirements before you begin
A few simple preparations make the first session easier. Required items keep the model understandable; optional items help you judge the result more consistently.
-
A single subject with a clear purpose, such as a toy, prop, character, vehicle, or product — Do not begin with a full scene.
-
A short description of the subject's form and the details that must remain visible — Mention distinctive features first.
-
A reference image with good lighting and limited background clutter — Use an image where the outline is easy to read.
-
A browser session with enough time to inspect and revise the first result — Generation is only the midpoint.
-
A preferred output use, such as concept art, game blocking, or a printable referenceoptional — This helps you judge acceptable detail.
-
A note-taking document for prompts and observationsoptional — Save wording that produces useful shapes.
Choose the next tutorial
Continue with the route that matches your next input. These pages explain adjacent workflows without making you restart from the beginning.
- how to use tripo ai for free Use this guide when you want a low-friction overview of the basic workspace and first generation.
- tripo tutorial step by step Follow the more structured sequence when you want a complete pass from setup through export.
- image to 3d model Choose this focused workflow when your starting point is a photograph, sketch, or reference image.
What this route cannot do
A beginner workflow can produce a strong starting point, but it does not replace modeling judgment or production checks.
It cannot repair an unclear subject
If the prompt or image leaves the silhouette ambiguous, the model may invent proportions or merge parts.
What to do instead
Simplify the subject and state the defining shape before adding surface detail.
It cannot guarantee production topology
A generated mesh may need cleanup before animation, deformation, manufacturing, or a demanding game pipeline.
What to do instead
Treat the first result as a base and inspect topology, scale, and joints in your normal 3D tools.
It cannot preserve every hidden detail
A single image does not reveal the back, underside, or internal structure of an object.
What to do instead
Add multiple references when available, or describe unseen features explicitly.
It cannot judge your final use
A model that works for a concept may be unsuitable for a close-up render, rig, print, or technical presentation.
What to do instead
Decide the intended use early and set your quality standard around that use.
How to avoid recurrence
The beginner workflow becomes easier when each session leaves behind a small record of what worked and what failed.
-
Start with a baseline
Create one straightforward model from a single subject. Record the prompt or image choice and keep the first result as a reference point.
-
Change the input
Improve framing, lighting, or wording while keeping the subject the same. This shows whether the problem came from the source rather than the tool.
-
Test one variation
Try a controlled change in material, pose, or proportions. Compare the result from the same viewing angles instead of relying on the thumbnail.
-
Build a personal checklist
Save the checks that matter most to your work: silhouette, recognizable parts, surface quality, scale, and whether the model suits its intended use.
Before and after the first pass
A useful revision is not necessarily more detailed. It is the version that makes the main subject clearer and removes the defect you identified.

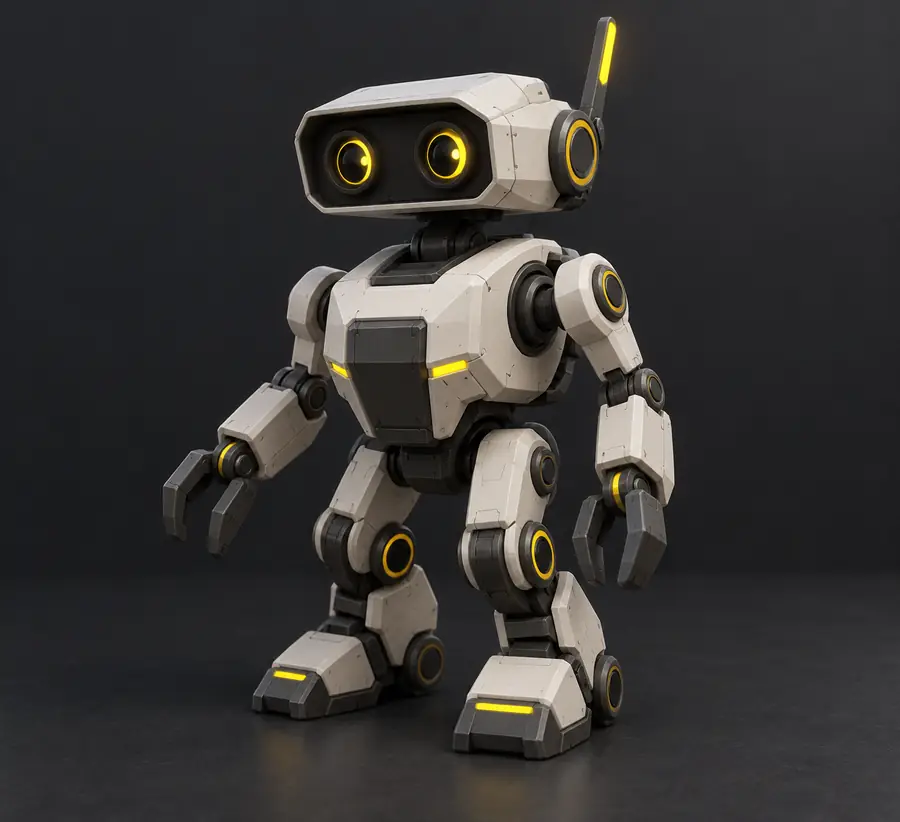
First pass
Drag the divider to compare silhouette and surface clarity.
Refined pass
Practice by input type
Use one tab at a time during your first sessions. Switching input types deliberately helps you understand which instructions affect the result.

Text prompt
When you begin with words
Describe the object from broad structure to specific features. Name the subject first, then its proportions, pose, materials, and the details that must remain visible.
- Keep the first prompt focused on one object.
- Use concrete shape and material words.
- Revise the instruction that relates to the visible defect.

Reference image
When you begin with an image
Choose a reference with a clear outline and a subject that is not hidden by props, reflections, or heavy shadows. The cleaner the visual information, the easier it is to evaluate the result.
- Center the subject and reduce background clutter.
- Use a recognizable view with visible edges.
- Describe important parts the image does not show.

Low-poly practice
When you need simple forms
A low-poly exercise is useful for beginners because it makes silhouette and proportion easier to see. Start with a prop or creature whose main identity comes from its large shapes.
- Prioritize the outline over tiny surface details.
- Check whether parts remain separate and readable.
- Add complexity only after the basic form works.
How to avoid recurrence
Ready to practice? Give Tripo one focused subject, inspect the first result from every angle, and make a single deliberate revision instead of guessing.
Use the workspace to test a prompt or image, then carry the same inspect-and-refine habit into every new project. A small, repeatable process is more valuable for beginners than a complicated first attempt.
Turn your first idea into a model
- Start with one clear subject
- Compare each revision deliberately
- Keep prompts that produce useful forms
Tutorial FAQ
Short answers to the questions beginners usually ask before their first session.
Begin with one recognizable object and a short description or clean reference image. Generate a baseline, inspect it from several angles, and change one instruction at a time so you can see what caused the improvement.
No advanced modeling experience is required to make a first model. Basic knowledge of shapes, proportions, and your intended use will help you judge the result, while detailed cleanup may still require a separate 3D workflow.
Start with text when you can describe the object clearly and want to explore an idea quickly. Start with an image when the silhouette, proportions, or visual style matter more than inventing the form from words.
The source may contain too many subjects, unclear edges, missing views, or instructions that combine conflicting details. Simplify the input, make the defining feature explicit, and regenerate after correcting only the most visible problem.
Keep the subject and goal fixed while changing one variable, such as the reference image, silhouette wording, material, or pose. Compare both versions from the same angles and save the wording that consistently produces a clearer result.