Practical walkthrough
Follow a tripo tutorial step by step for your first model
This tripo tutorial step by step takes you from a clear idea to a reviewed 3D asset. Choose the route that matches your starting material, keep the first prompt focused, and use the final checks before exporting.
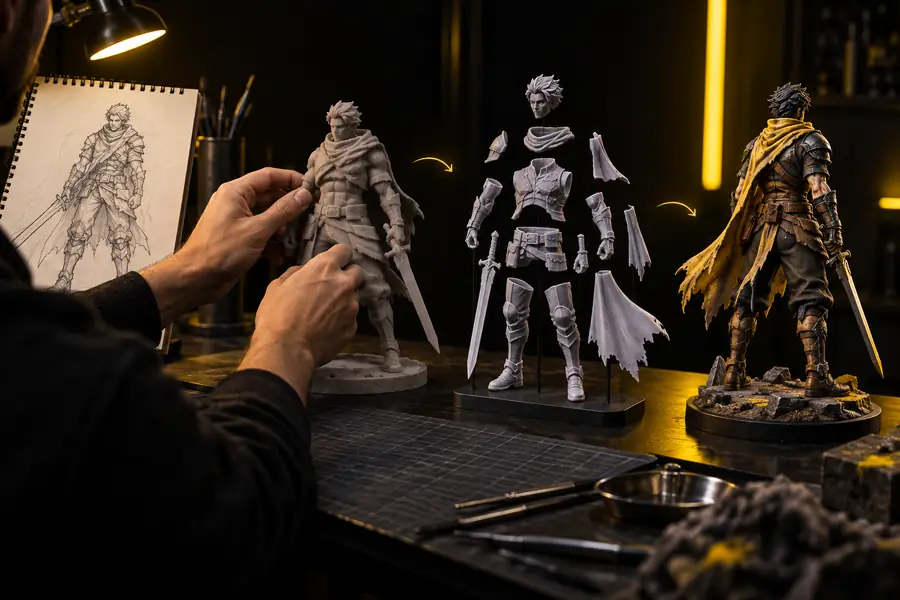
- StartA focused object description gives the first generation a clearer shape and purpose.
- ChooseAn image route is best when silhouette and visible proportions matter most.
- ExploreA text route is best when you are still exploring an object or scene concept.
- ReviewThe final check should cover shape, surface, parts, and export readiness before reuse.
Decide which case you are
Use this quick decision flow before opening the generator. The right starting point prevents unnecessary revisions later.
-
1
Define the target
Name one main object, its visual style, and where the model will be used. Avoid combining several unrelated objects in the first attempt.
-
2
Choose your input
Use text when the concept is still flexible; use an image when the outline, pose, or proportions already exist in a reference.
-
3
Generate and inspect
Create a first version, compare it with the target, then revise one issue at a time instead of rewriting every detail at once.
Decide which case you are
Prepare these items before generation so the first result can be judged against a specific goal rather than a vague impression.
-
One primary subject with a clear noun, such as lantern, chair, robot, or helmet. — Do not begin with a crowded scene.
-
A short description of shape, material, color, and distinctive details.
-
A stated use case, such as concept art, game blocking, product visualization, or reference.
-
A clean reference image if you are following the image-based route.optional — Use a readable silhouette and avoid heavy overlap.
-
A preferred output format and a folder ready for the exported file.optional
-
A review standard for what counts as acceptable on the first pass. — For example: recognizable silhouette and complete major parts.
- how to use tripo ai for free This guide focuses on accessing the workflow without adding unnecessary friction at the start.
- tripo tutorial for beginners This beginner-friendly overview explains the interface and core concepts before you refine a result.
- image to 3d model Use this route when a reference image should drive the model’s overall silhouette and proportions.
Path A
Pick one path for the first pass. You can switch later, but keeping the input type consistent makes it easier to understand why a result changed.
Text route
Path A: build from a written idea
Write a compact prompt that moves from the main subject to its defining traits. Start with the object, then add form, material, color, and style. A useful structure is: subject, silhouette, key parts, surface treatment, and intended look. For example, describe a compact desk lamp with a round base, adjustable neck, warm metal shade, and simple product-design styling. Generate the first version without stacking on every possible variation.
- Use one dominant subject in the opening phrase.
- Describe visible features rather than abstract quality words.
- Add style only after the physical form is clear.
- Change one variable between revisions.
Image route
Path B: guide the form with a reference
Use an image when the visual target already exists. Choose a reference with one obvious subject, a readable outline, and enough contrast to separate the object from its background. Crop away unrelated items when possible. After generation, compare the model’s silhouette first, then inspect missing details and surface artifacts. If the outline is wrong, improve the reference before adding more descriptive text.
- Prefer a single object over a group photo.
- Check the front, side, or three-quarter view for clarity.
- Remove distracting shadows or background objects when practical.
- Judge the overall outline before small surface details.
Mixed review
When to combine both routes
A mixed workflow is useful after you understand the first result. Start from the stronger input, then use a short text instruction to clarify a material, color, proportion, or distinctive feature. Do not use the mixed route to compensate for an unclear subject. If the base shape is wrong, return to the original input and fix the foundation first.
- Keep the added instruction specific and visible.
- Use the same target object while comparing versions.
- Save each meaningful revision separately.
- Stop when the model meets the intended use, not when every detail is perfect.
Final check
Treat review as a separate stage from generation. These timed checkpoints help you decide whether to revise, export, or start again with a better input.
-
Confirm the target
Read the prompt or inspect the reference once more. Verify that the result contains the intended subject and that the main silhouette is recognizable.
-
Inspect the structure
Look for missing limbs, merged parts, broken openings, floating elements, and thin areas that may fail when the model is viewed from another angle.
-
Review the surface
Check for stretched textures, noisy transitions, unexpected holes, and details that look convincing from one view but collapse elsewhere.
-
Test the handoff
Confirm that the model opens correctly in the next tool or viewer, that the chosen format is suitable, and that the file has a clear name.
-
Choose the next action
Export when the major form is usable. Revise one visible weakness when the object is close. Restart with a simpler input when the subject is fundamentally wrong.
Start with a focused prompt or a readable reference, then use the review checkpoints to make a deliberate decision about the result. The fastest workflow is usually the one that changes fewer variables at a time.
Turn one clear idea into a usable 3D model
- Begin with one subject
- Review the silhouette first
- Export only after the handoff check
Tutorial FAQ
Define one subject and the result you need before writing a prompt or choosing a reference. A clear target gives you something specific to compare against when the first model appears.
Use text when you are exploring an idea and the shape can remain flexible. Use an image when the silhouette, pose, or proportions already matter and you have a clean reference.
Start with the subject, major shape, material, color, and a few distinctive parts. Excessive detail can hide the main instruction, so add refinements only after you understand the first result.
Check the silhouette, major parts, holes, thin areas, and visible artifacts from more than one angle. Then confirm that the file opens in your next tool and that the format fits the intended use.
Restart when the main subject or overall structure is wrong, because small prompt edits may not repair the foundation. Revise when the silhouette is already useful and only one or two visible issues need attention.